
Tanking And Waterproofing A Luxury Bathroom In Exeter
Luxury Bathrooms Exeter
Porcelain doesn’t let water through. Grout does, and neither is the adhesive behind it, the plasterboard behind that, or the softwood joists under a first-floor bathroom in a Victorian Exeter terrace. Tanking and waterproofing a luxury bathroom in Exeter means giving the room a continuous barrier behind the tiles, so that water getting past the grout has nowhere to go. Since the 2018 revision of BS 5385-1, the British Standard for wall tiling, a proper tanking system has been the recommended practice in showers and other wet areas, homes included. On a typical walk-in shower that’s one or two days of extra work, and it adds a few hundred pounds to the price. Skip it and you’re betting a 1200 x 2400mm porcelain panel, which can weigh around 40kg, on the grout lines staying perfect for twenty years. This guide covers the systems, where each one belongs, why older Exeter houses need extra care, and what to ask before anyone opens a tub of adhesive.
What tanking actually does in a bathroom
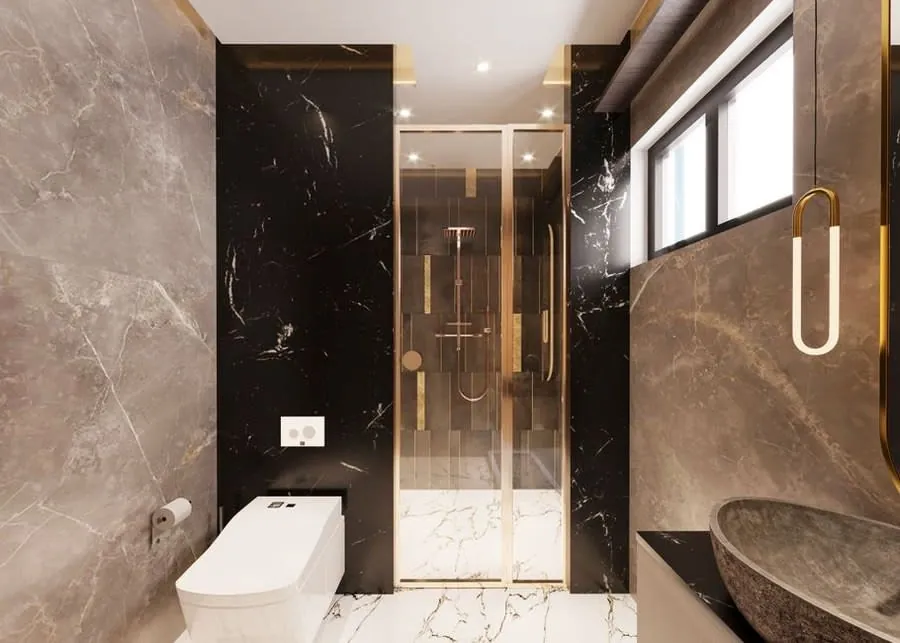
The word comes from the building trade’s older habit of “tanking” a cellar: lining it so it holds water out, like the inside of a tank. In a bathroom it works the other way round. The membrane sits directly behind the tile adhesive and keeps shower water from soaking into the wall or floor behind.
Grout is porous to some degree, even the good stuff. Silicone at internal corners shrinks, splits or gets picked at over the years. Each time you shower, a small amount of water reaches the back of the tile. With no barrier, it soaks into gypsum plaster or plasterboard, which softens and loses its grip on the adhesive. Tiles go hollow, then loose. With a barrier, the same water simply sits there until it dries.
On our bathroom tiling jobs, we treat tanking as part of the tiling rather than an optional extra. It’s priced on the same line, and nobody has to remember to ask for it.
Membranes, liquid systems and tile backer boards
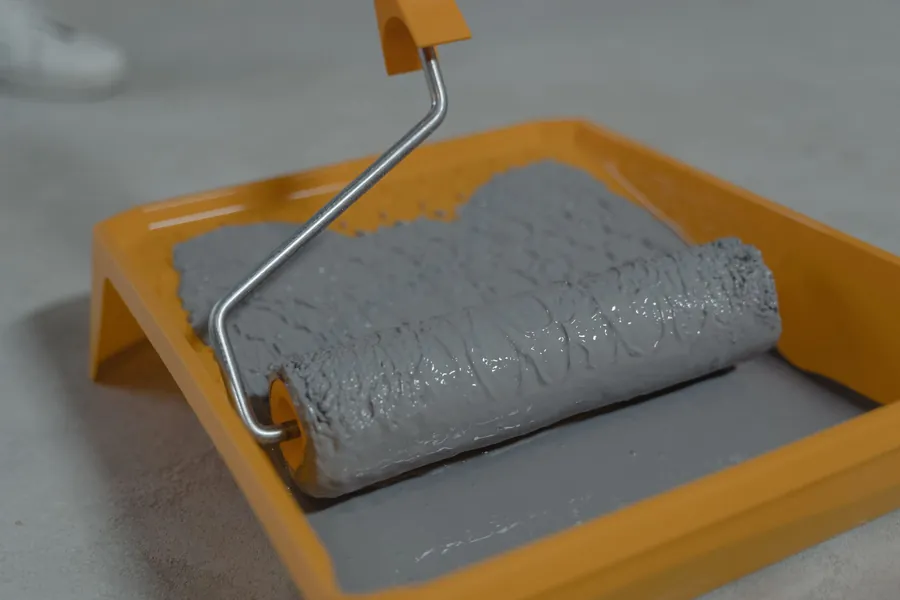
There are three main ways to do it. Most good fitters will use more than one in the same room.
Sheet membranes
A thin, flexible fabric-faced sheet, bonded to the wall or floor with tile adhesive. The seams overlap and are sealed with matching tape. Sheets give you a known, even thickness everywhere, which is their big advantage: there is no guessing whether a corner got enough coats. They also cope well with slight movement and can often be tiled onto the same day. The downside is the fiddly bits. Every pipe, valve body and niche needs a pre-formed collar or a carefully cut patch.
Liquid tanking
A paste or thick liquid rolled or brushed on, usually in two coats with reinforcing tape bedded into the corners and joints. It wraps neatly around awkward shapes, which makes it popular on shower niches and around concealed valves. Its weakness is the human one. If the second coat goes on thin in one place, you won’t see it once the tiles are on. Drying time also matters. Depending on the product it can be anything from a couple of hours to overnight between coats, and a cold, unheated room in a Devon January slows that down.
Tile backer boards
Cement-based boards or rigid foam boards with a cementitious face, screwed or bonded in place of plasterboard. The board itself won’t rot or swell, which makes it a far better base than moisture-resistant plasterboard in a shower. But the joints and screw heads are gaps, so the board only becomes a waterproof system once every seam is taped and sealed with the maker’s own products. A backer board alone is not tanking.
The Tile Association, the UK trade body for tilers, publishes technical guidance on substrates and wet areas. Have a look before you compare quotes, so you know what current best practice is.
Where an Exeter bathroom needs waterproofing
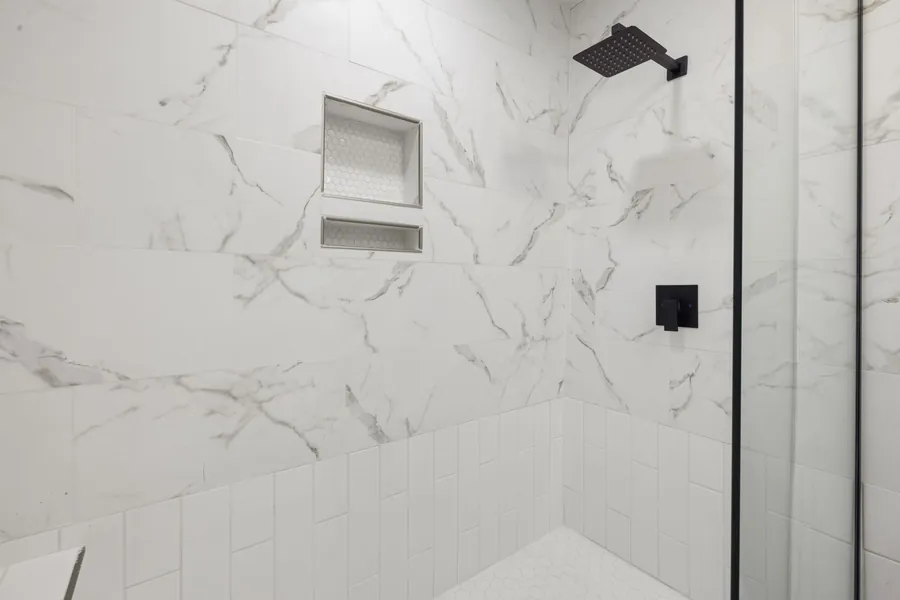
Not every wall in the room. Here’s where we tank, and why.
- Inside every shower enclosure, floor to ceiling. A rainfall head mists the top of the walls as much as the bottom, so stopping the membrane at head height leaves a band of bare plaster in the steam.
- Shower niches and the walls around concealed valves. These are the holes in the barrier, so they get pre-formed corners or extra reinforcing tape.
- The whole floor of a wet room, carried up the walls and past the door threshold. Our wet rooms page explains the layout side. The waterproofing is the part you don’t see.
- Behind and above a bath with a shower over it. Treat this zone as a shower, because that’s what it is. Tape the joint where the bath rim meets the wall with a flexible upstand tape before tiling, so the silicone isn’t the only seal.
- Any timber floor that will be tiled in a room where water lands on it, which in practice means most first-floor bathrooms in older houses.
Areas such as the wall behind a basin or the far end of a large room, well away from the shower, usually only need sound plaster and good tiling. We’d rather spend the budget where water actually goes.
Timber floors in Exeter’s Victorian and older homes
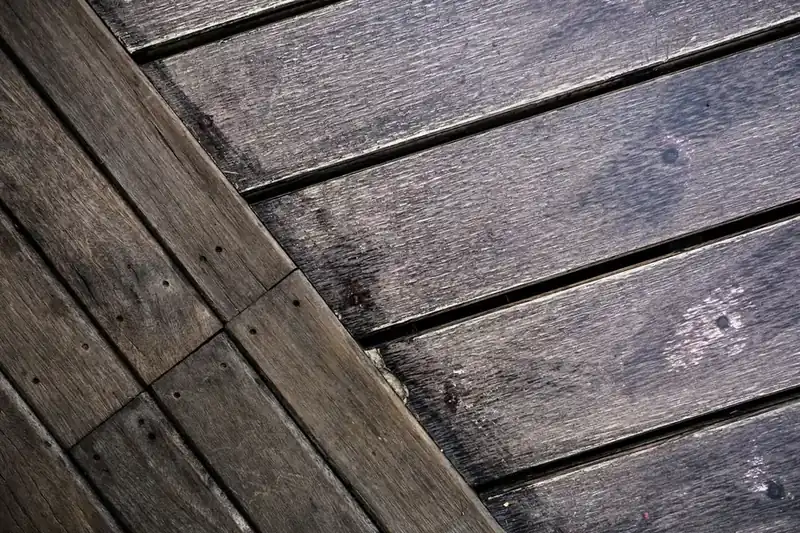
The terraces around Polsloe, Newtown and Heavitree were built with suspended timber floors. In many of them the bathroom was added later, often in the rear back addition above the kitchen. That matters for two reasons. Timber moves with the seasons and flexes under load, and a membrane laid over a floor that bounces will eventually tear at the weakest seam. And when a first-floor bathroom leaks, the water usually turns up in the kitchen ceiling below.
So the floor gets attention before any waterproofing goes down. Original boards come up rather than being tiled over. Joists are checked, and where needed stiffened. A rigid deck goes down, usually exterior-grade ply or a tile backer board screwed at close centres. Only then does the tanking go on, with a flexible tape where the floor meets the walls. The joint between a moving floor and a fixed wall is where we see old installations crack first.
Georgian and Regency houses closer to the city centre, and cob or stone cottages in villages around Exeter, add another wrinkle. Lime plaster on a solid wall is often too soft and too uneven to take a membrane directly. In those rooms we usually board out the shower area on battens or a bonded backer board and tank that instead, which keeps the waterproofing off a wall that needs to breathe.
Why a leak behind large-format porcelain or stone costs so much
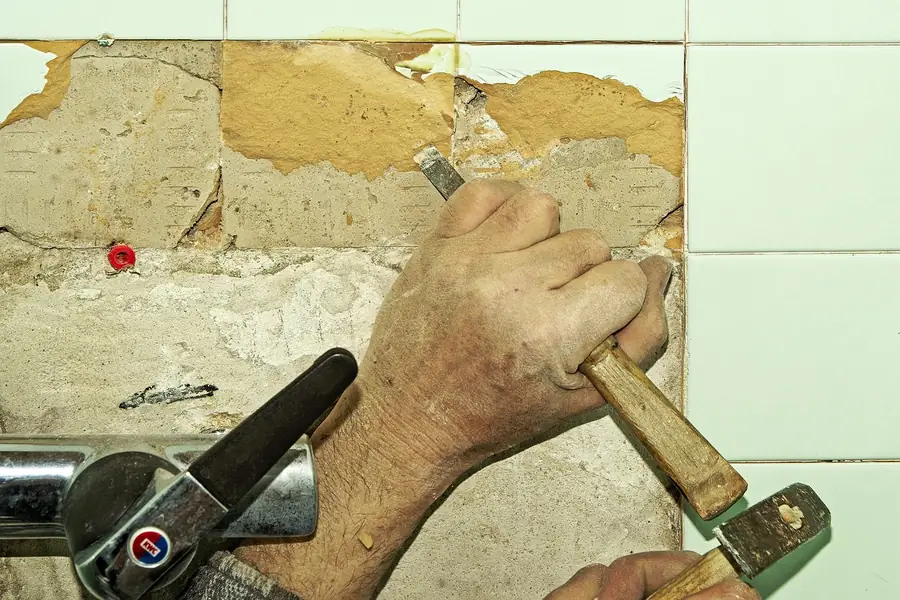
With small tiles, a failed patch can sometimes be cut out and replaced with spares. Large-format work rarely gives you that option. A 1200 x 2400mm panel is bedded on near-full adhesive coverage, so it almost never comes off the wall in one piece. A matching replacement may be impossible to find, because porcelain is made in batches that vary in shade, and lines get discontinued. Natural marble or limestone is worse still: no two slabs match, so one damaged panel can mean re-cladding the whole wall.
Then there’s what’s underneath. Water that has been getting past the grout for months can rot a joist end, blow the plaster in the room below and leave a smell of damp that persists after the leak is fixed. By the time a stain shows on a kitchen ceiling, the repair is no longer a tiling job. It often means stripping the shower, drying the structure, repairing joists and ceilings, then re-tiling with whatever material can still be bought.
We’ve written about the choice between marble, porcelain and natural stone elsewhere. Whichever you choose, the dearer the wall finish, the more the layer behind it is worth.
What tanking adds to the cost and the timeline
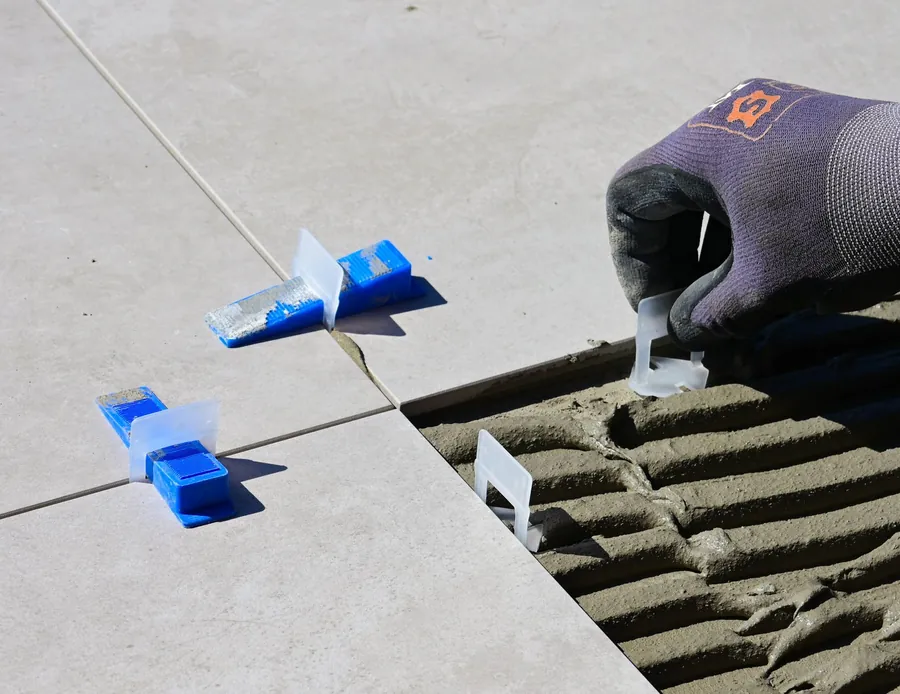
For a standard walk-in shower enclosure, a decent tanking kit or membrane with the matching tapes and collars is a modest materials cost. Labour is typically half a day to a day. Across our quotes, waterproofing a shower area usually lands somewhere in the low hundreds of pounds. A full wet room costs more, since the floor, the falls, the threshold and a test all come into it, and older timber floors that need stiffening or a new deck add again.
The timeline cost is mostly waiting. Liquid systems need their drying time between coats and before tiling. On a wet room floor we like to flood test before any tile goes down, by plugging the drain and leaving water standing for around 24 hours, then checking the ceiling below. That’s a day in which nothing visible happens. Fitters running against the clock are tempted to skip it, and it’s the one day you shouldn’t give up.
If you’re also deciding how the floor drains, our earlier guide to shower trays and drains covers how the tray or former and the trap affect floor height. The tanking has to join to whichever one you pick, so the two decisions go together.
Questions to ask your bathroom fitter about waterproofing
You don’t need to know how to tank a shower to check whether someone else is doing it properly. Ask:
- Which system will you use, and is every part from the same manufacturer? Mixing one brand’s membrane with another’s tape or adhesive can void the system’s own guarantee.
- How high does it go? “Full height in the shower” is the answer you want.
- How are corners, pipes and niches sealed? Listen for pre-formed corners, pipe collars and reinforcing tape rather than “a bit of extra” of anything.
- What goes on the floor first if it’s timber? Ply or backer board, screwed down properly, with the old boards lifted.
- Will you flood test a wet room floor, and will you photograph the tanking before tiling? Photos cost nothing and are the only record once the tiles are on.
- Who tiles over it? If the tanking and the tiling are done by different people, ask who takes responsibility if it leaks.
Under the Consumer Rights Act 2015, section 49, a trader has to carry out a service with reasonable care and skill, and that includes the work you can’t see. If you’re still shortlisting firms, TrustMark, the government-endorsed scheme for vetted tradespeople, is one way to check a business has been through independent checks.
Common questions
Is moisture-resistant plasterboard enough in a shower?
No. The green board resists humidity better than standard plasterboard, but it isn’t waterproof and will still soften if water reaches it. In a shower it needs a tanking system over it, or better, a cement or foam backer board in its place.
Do I need tanking if I’m fitting a shower tray rather than a wet room?
Yes, on the walls. The tray deals with the floor, but the walls inside the enclosure get soaked every day. Tank them full height and tape the joint between the tray and the walls before tiling.
How long does tanking add to a bathroom renovation in Exeter?
For a shower enclosure, usually one or two extra days including drying time. A wet room takes longer because the floor is formed, tanked and flood tested before tiling, and an older timber floor may need a new deck first.
Can you tank over existing tiles?
Sometimes, with specific products, but we rarely do on a full renovation. Old tiles hide whatever is behind them, and the extra thickness throws out the levels around the tray, the valve and the screen. Stripping back lets us check the wall and start from a clean base.
Talk to us about waterproofing your Exeter bathroom properly